

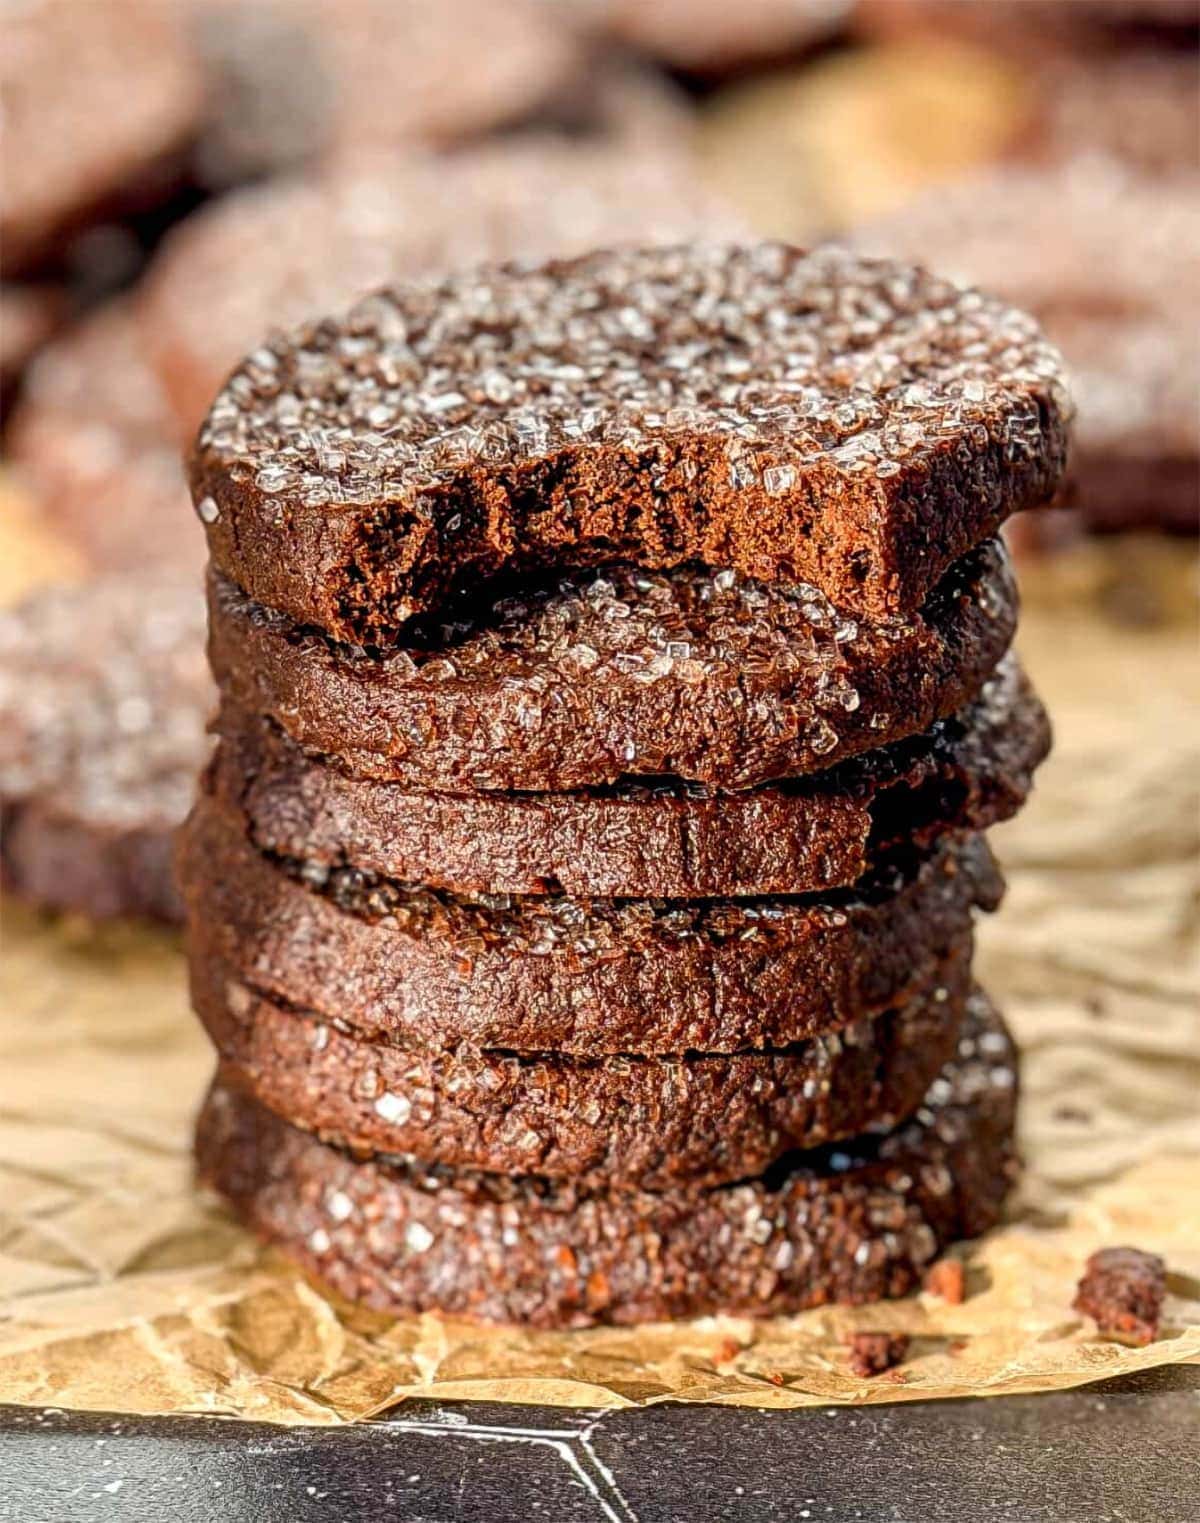
These easy chocolate shortbread cookies bring a delicious chocolatey twist to classic buttery shortbread.
With just 7 ingredients, this easy shortbread recipe will be a welcome addition to your holiday baking.
I've included instructions for making these cookies as both slice-and-bake and cut-out cookies, so you can choose the method that works best for you.
Save This Recipe
Recipe Highlights
- Servings: Makes about 24 cookies
- Time Commitment: 15 minutes prep + 20 minutes chill + 14 minutes bake
- Effort Required: Easy! Mix, chill, and bake. No decorating required unless you want to.
- Special Equipment: Stand or hand mixer, baking sheets, parchment paper
- Dietary Notes: Egg-free and vegetarian
Jump to:
Ingredients & Substitutions
Usually, shortbread only has three ingredients: butter, sugar and flour.
In this recipe, I've added cocoa powder to make this a chocolate shortbread recipe, salt (because I used unsalted butter), two kinds of sugar for texture and vanilla extract for extra flavour.
Like most shortbread recipes, this recipe is egg-free.

- All-purpose Flour: The main structural ingredient for these cookies. Please do not substitute with other flours. I have not tested alternative flours for this recipe.
- Cocoa Powder: Use a Dutch-processed cocoa powder as it provides more chocolatey flavour than natural cocoa powder, and is less bitter. Do not substitute with instant hot cocoa, as it contains sugar and sometimes powdered milk.
- Unsalted Butter: If you substitute with salted butter, omit the additional salt in the recipe.
- Salt: I added salt because I used unsalted butter.
- Granulated Sugar: This adds a crunchy texture to the cookie.
- Icing Sugar: This adds softness to the cookie (also called powdered sugar).
- Vanilla Extract: This is optional, but adds a nice flavour.
This recipe has not been tested with all possible substitutions or variations. Making changes may alter the taste, texture, or overall outcome. If you try a different ingredient, please share in the comments!
See the recipe card for the complete ingredient list and recipe instructions.
Variations
While these chocolate shortbread cookies are delicious as-is, they're also easy to customize! Try one of these variations or make your own.
- Sprinkles: Add sprinkles to the tops of the unbaked cookies, pushing down gently so they stick to the dough.
- Chocolate Orange: Substitute the vanilla extract with orange extract for chocolate orange shortbread cookies.
- Chocolate Dipped: Melt white or milk chocolate and dip the baked cookies into it. You can add sprinkles or chopped nuts to the chocolate before it sets.
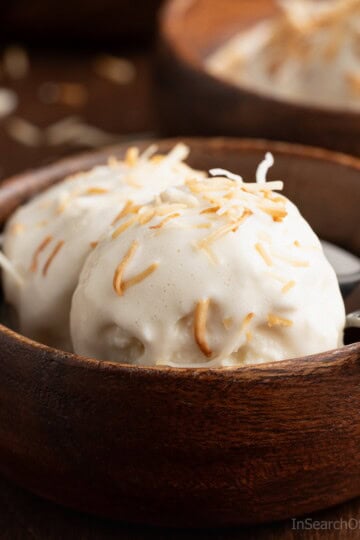
If you love shortbread, try making my coconut shortbread cookies, too!
Why I Make This Recipe
Shortbread cookies are known for their rich, buttery flavour and delicate crumb, and this chocolate version takes them to the next level.
The cocoa powder adds a deep, chocolatey taste that pairs beautifully with the cookie's texture.
These chocolate shortbread cookies are perfect for holiday treats, gifts, or simply satisfying a chocolate craving. They're easy to prepare and always a crowd-pleaser.
Making the Shortbread Cookie Dough
Chocolate shortbread cookies are easier to make than you might think!
For best results, make sure your butter is at room temperature so it can cream properly with the sugar. Also, it's important to measure your flour correctly to avoid using too much.

Step 1: Sift together the flour, cocoa powder and salt. Set this aside.

Step 2: Cream the butter and sugar together until it's light and fluffy.

Step 3: Add the dry ingredients to the wet ingredients and mix until the ingredients combine and form a dough. Be careful not to overmix the dough or the cookies will be dense.

Step 4: Turn the dough out onto a flat surface. Shape it, wrap in plastic wrap and refrigerate.
How to Make Slice-and-Bake Cookies
This is my favourite method for making these cookies because it's perfect for impatient bakers (like me).
Not only is this much faster and easier than cutting out shapes, but they have a slightly lighter texture because they haven't been rolled with a rolling pin.

- To make slice-and-bake shortbread cookies, you'll need to roll your dough into a log. Wrap the log with plastic wrap, and then place it in the refrigerator for at least 20 minutes to chill.
- Once the dough is chilled, take it out of the fridge. Unwrap the dough log and place it on a cutting board.

- Use a sharp knife to cut slices of cookie off of your dough log. If the dough is too hard to cut through, let it warm up at room temperature for a few minutes.
The longer the dough has been in the fridge, the more time you may need before you'll be able to cut through it.
I like to make the slices about 1 cm (½ inch) thick. You can make them thinner, about ½ cm (¼ inch) thick, but they will take less time to cook. - Place the cookie slices on a sheet pan lined with parchment or a non-stick baking mat (like a Silpat). If you're using a mat, note that your cookies may spread more and become darker on the bottom.
Tip: If you've taken a really long time to slice your cookies and the dough seems very soft, you can put them back into the fridge to chill for 10 minutes before baking. - Bake sliced cookies at 350°F (175°C) for about 14 minutes, or until the cookies have dried out a bit and are no longer soft, wet and sticky.
- Allow them to cool for 5 minutes on the baking tray before moving them to a wire rack to finish cooling.


Tips from a Professional Baker

My friend and fellow blogger, Cynthia, made the slice-and-bake version of these cookies and shared a few helpful tips:
- Roll the dough between parchment paper before chilling for easier handling.
- Chill cookies on the baking sheet while the oven preheats to help them hold their shape.
- Dip one side directly into sparkling sugar and press down for even coverage for a sparkly finish.
Cynthia is a professionally trained baker and private chef. Check out her delicious creations at But First We Brunch.
How to Make Cut-Out Cookies
If you'd rather cut out fun shapes from your cookie dough, you can!
- Instead of rolling your dough into a log before chilling, you're going to make a flat disc shape.
- Wrap your disc in plastic wrap and chill the dough in the fridge for at least 20 minutes.
- Once chilled, place the dough on a flat surface lined with parchment paper. I like to do this on a large cutting board.
- Place another piece of parchment on top of the dough. Then, roll the dough to your desired thickness using a rolling pin. A ½ cm (¼ inch) thickness works well for cutout cookies.
- Use your desired cookie cutter to cut shapes from the chilled dough.
- Then, use an offset spatula to carefully lift the cookie shapes from your work area and place them onto a sheet tray lined with parchment or a Silpat. If you're using a baking mat, your cookies may spread more and become darker on the bottom.
- Place the baking tray with the cookie shapes in the fridge to chill for about 10 minutes. This will help them keep their shape while they bake.
- Bake the cutout cookies at 350°F (175°C) for about 14 minutes, or until the cookies have dried out a bit and are no longer soft, wet and sticky.
- Allow the cookies to cool for 5 minutes on the baking tray before moving them to a wire rack to cool completely.


Why Use Parchment Paper?

Parchment paper prevents the dough from sticking to your rolling pin without adding more flour. Adding more flour to the shortbread dough can ruin the texture of the baked cookie.
How to Decorate the Cookies
If you want to go all out with these cookies, I strongly recommend drizzling melted milk chocolate over them.
These cookies have an intense chocolate flavour already, but adding the milk chocolate gives them a lusciousness and an extra bit of sweetness that helps to round them out.

How to Melt Chocolate to Decorate Cookies
Microwave Method: Place white or milk chocolate chips in a microwave-safe bowl. Heat in 15-20 second intervals, stirring after each interval, until the chocolate is smooth.
Double Boiler Method: Place white or milk chocolate chips in a heatproof bowl over a pot of simmering water (not boiling). Stir until melted and smooth. Avoid letting any water get into the chocolate, as it can cause it to seize.
For Both Methods:
Once the chocolate is melted, drizzle the melted chocolate over the baked cookies.
Place the decorated cookies onto parchment paper. This will make them easier to remove once the chocolate has set.
If you want to decorate the cookies further, add some festive holiday sprinkles or chopped nuts while the chocolate is still wet.
What About Dipped Cookies?

If you want to dip the cookies in chocolate, you will need to use tempered chocolate, not melted chocolate. Learn how to temper chocolate properly to get the best results.
Frequently Asked Questions
The cookies should be dry and firm to the touch - not sticky, wet or very soft. Be careful not to overcook the cookies.
Take the cookies out of the freezer and place them on a wire rack. Let them sit at room temperature until defrosted. This should prevent any condensation from forming.
1. Don't skip the salt (either add salt or use salted butter!)
2. Don't overwork the dough.
3. Don't add extra flour to your work surface.
4. Don't overcook them.
I hope you'll add these chocolate shortbread cookies to your Christmas menu items this year! They're even more delicious when paired with my eggless eggnog.
I'll be making these along with coconut shortbread cookies, sugar plum cobbler and Trinidadian sweet bread.
They're fun to make for yourself or as holiday gifts for the chocolate lovers in your life.
Recipe Card
Chocolate Shortbread Cookies
Ingredients
- 2 cups all-purpose flour
- ½ cup cocoa powder, Dutch-processed
- ¼ tsp salt
- 1 cup unsalted butter, cut into cubes (room temperature)
- ½ cup granulated sugar
- ½ cup icing sugar
- ½ teaspoon vanilla extract
Equipment
- stand mixer, with a paddle attachment (or hand mixer)
- fine-mesh sieve, or sifter
- 2 Half Sheet Pan, 1 will work, but 2 is easier
Instructions
Making the Dough:
- In a bowl, sift flour, cocoa and salt together. Whisk to combine and set aside.
- Use a stand mixer with the paddle attachment to beat butter and both sugars together on low speed. Mix just until combined. Scrape down the sides of the bowls and mix again on medium speed until the mixture is light, fluffy and pale in colour (3-4 minutes).
- Add vanilla. Mix until incorporated.
- Add sifted dry ingredients to the wet ingredients, mixing on low until the mixture comes together as a dough. Be careful not to overwork the mixture.
- Turn dough out onto a sheet of parchment on a flat surface. Use your hands to divide the dough in half.
- Shape each half into a log (for slice and bake cookies) or a disc (for cutout cookies). Wrap with plastic wrap, and place in fridge for at least 20 minutes to chill.
For Slice and Bake Cookies:
- Remove your dough log from the fridge.
- Heat oven to 350°F.
- Unwrap chilled dough and place on cutting board. Cut into 1 cm (½ inch) wide slices. Place on a tray lined with parchment paper.
- Bake cookies one tray at a time for about 14 minutes (on the middle rack). Cookies are done when they are just firm to the touch (not soft, wet or sticky).
- Allow cookies to cool for five minutes on tray before moving them to a wire rack to finish cooling.
- Wait for cookies to cool before decorating with melted chocolate and sprinkles.
For Cutout Cookies:
- Remove your dough disc from the fridge.
- Heat oven to 350°F.
- Unwrap chilled dough and place on a flat surface lined with parchment paper. Place another piece of parchment on top of the dough.
- Roll dough out between two pieces of parchment to about ½ cm (¼ inch) thickness. Use cookie cutters to cut out your desired shapes. Place onto a tray lined with parchment.
- Place the unbaked cookie shapes back into the refrigerator for 10 minutes.
- Bake chilled cookies one tray at a time for about 14 minutes (on the middle rack). Cookies are done when they are just firm to the touch (not soft, wet or sticky).
- Allow cookies to cool for five minutes on tray before moving them to a wire rack to finish cooling.
- Wait for cookies to cool before decorating with melted chocolate and sprinkles.
Save This Recipe
Notes
- Use Dutch-processed cocoa powder for a rich, chocolatey flavour.
- Avoid instant hot cocoa mix, which contains sugar and milk powder.
- Roll the dough between parchment paper before chilling for easier handling.
- Chill cookies on the baking sheet while the oven preheats to help them hold their shape.
- Dip one side in sparkling sugar and press gently for even coverage.
- Use room-temperature butter so it creams properly with sugar.
- Measure flour correctly using the fluff, spoon, and sweep method to avoid dense cookies.
- A stand mixer with a paddle attachment makes creaming easier, but a hand mixer works too.
- Cream butter and sugar until light and pale.
- Line baking sheets with parchment paper to prevent sticking.
- Baking mats (Silpat) can also be used, but cookies may spread a bit more.
- Having two sheet pans makes baking batches faster.
- Store cookies in an airtight container at room temperature for up to 2 weeks (best texture within the first week).
- To freeze, layer cookies between parchment in an airtight container; they'll keep for about 2 months.
- Thaw at room temperature before serving.
Please read the full blog post for all of my tips, variations, and recommendations for this recipe.
Nutrition
Nutritional information is an estimate provided as a courtesy and will vary based on the specific ingredients used. For exact values, use your preferred nutritional calculator with the products you're using.
Private Notes
Have you made this recipe?
Let us know how it turned out in the comments!About Shareba
Shareba Abdul is a recipe developer and food photographer with a Culinary Arts certificate from George Brown College and 15+ years of experience creating and testing recipes for home cooks. She is also a member of the International Association for Culinary Professionals. All recipes on this website are tested in her home kitchen. Learn more →


Leave a Comment: