


This sour cream peach pie combines juicy peaches with a warmly spiced sour cream custard for a simple dessert that tastes like summer.
It comes together easily with a store-bought pie shell and canned peaches, and has an optional streusel topping that can be added near the end of baking.
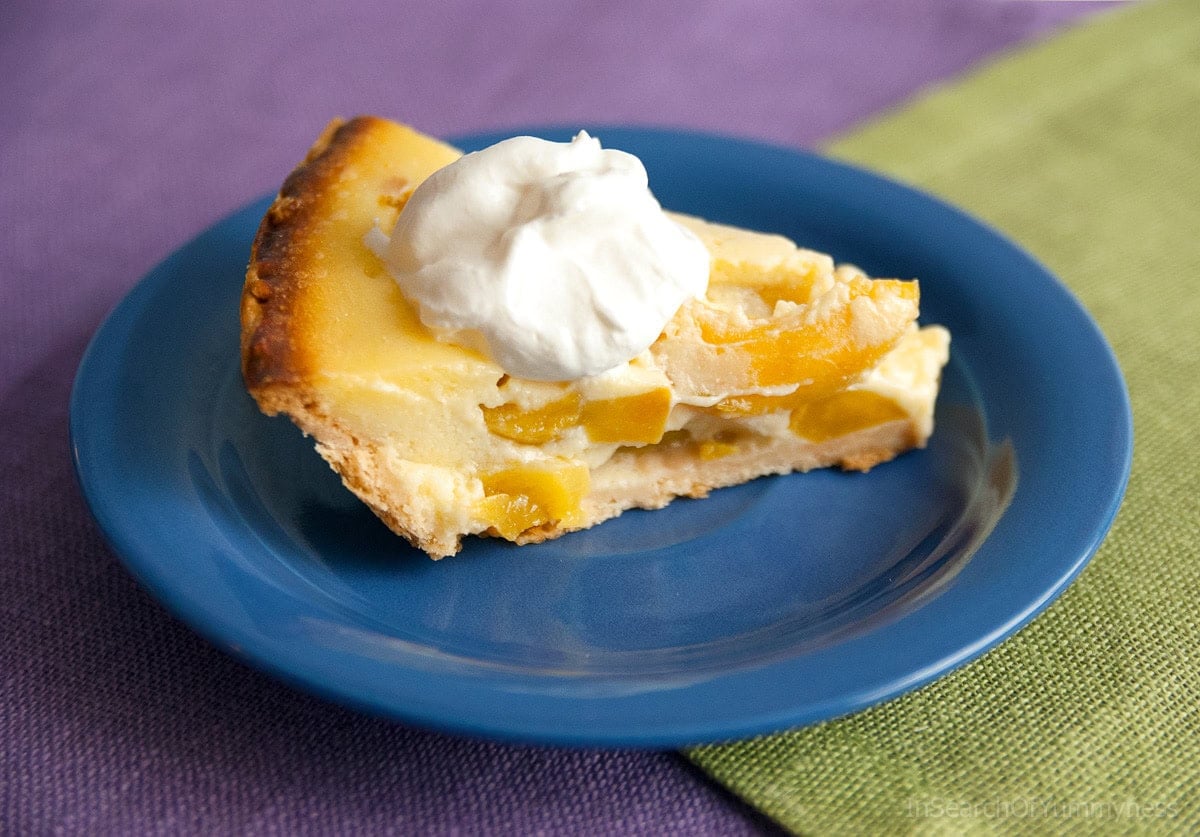
Recipe Highlights
- Servings: Makes 8 servings
- Time Commitment: About 1 hour and 5 minutes to make the pie, and 3 hours to chill it for the best texture.
- Effort Required: Easy, especially when you use canned peaches.
- Special Equipment: A rimmed baking sheet and a pastry cutter (optional for the streusel topping)
- Dietary Notes: Contains dairy and eggs.
Not Ready to Cook?
(You can easily unsubscribe at any time)
Jump to:
Ingredients and Substitutions
This pie has a short ingredient list made up of pantry staples. I recommend using a store-bought pie shell and canned peaches to save time.
- Deep Dish Pie Shell: I've tested this with both the Tenderflake and Great Value 9-inch all-vegetable deep-dish shells, and both worked well. Use a homemade pastry crust if you prefer.
- Peaches: This recipe was tested with canned peaches, so I recommend using them for the best results. If you'd rather use fresh, substitute with an equal amount of ripe, peeled yellow peaches. Avoid white peaches, since they tend to turn mushy and lose their flavour once baked.
- Sour cream: Use full-fat sour cream with a short ingredient list. Do not use fat-free sour cream, since it tends to break down in the oven.
- Egg yolks: These help thicken the filling and give it a rich, custard-like texture.
- Sugar and flour: These sweeten and thicken the filling along with the eggs.
- Vanilla extract: Adds a warm, sweet flavour to the pie.
- Nutmeg and Cinnamon: These warm spices take this pie from ordinary to delicious.
For the Streusel Topping (Optional):
- Brown Sugar and Flour: These form the base of the streusel.
- Cinnamon: Just a little adds warmth and ties the topping to the spiced custard below.
- Butter: Needs to be cold so it forms coarse crumbs rather than melting into the mixture before it hits the oven.
This recipe has not been tested with all possible substitutions or variations. Making changes may alter the taste, texture, or overall outcome. If you try a different ingredient, please share in the comments!

See the recipe card for the complete ingredient list and recipe instructions.
Why The Sour Cream Matters
When I first started making this recipe, I was using a premium 18% milk fat sour cream with a short ingredient list, and it worked beautifully.
At some point, I started using the sour cream we had in the fridge from taco night. It was the same brand, but the 14% milk fat version, and it had a much longer ingredient list with things like modified corn starch and guar gum. The pie would still turn out okay, but it was less creamy. I figured that was just the trade-off for not using the premium version.
Then this year I splurged on a grass-fed 14% milk fat sour cream with just three ingredients: pasteurized cream, bacterial cultures, and microbial enzymes. The pie came out of the oven looking puffed and beautiful, and the texture was the creamiest it has ever been.
I'm not saying you have to use grass-fed sour cream, but I do recommend using a sour cream with simple ingredients. If you can find one with a higher fat content, that's even better.
Variations
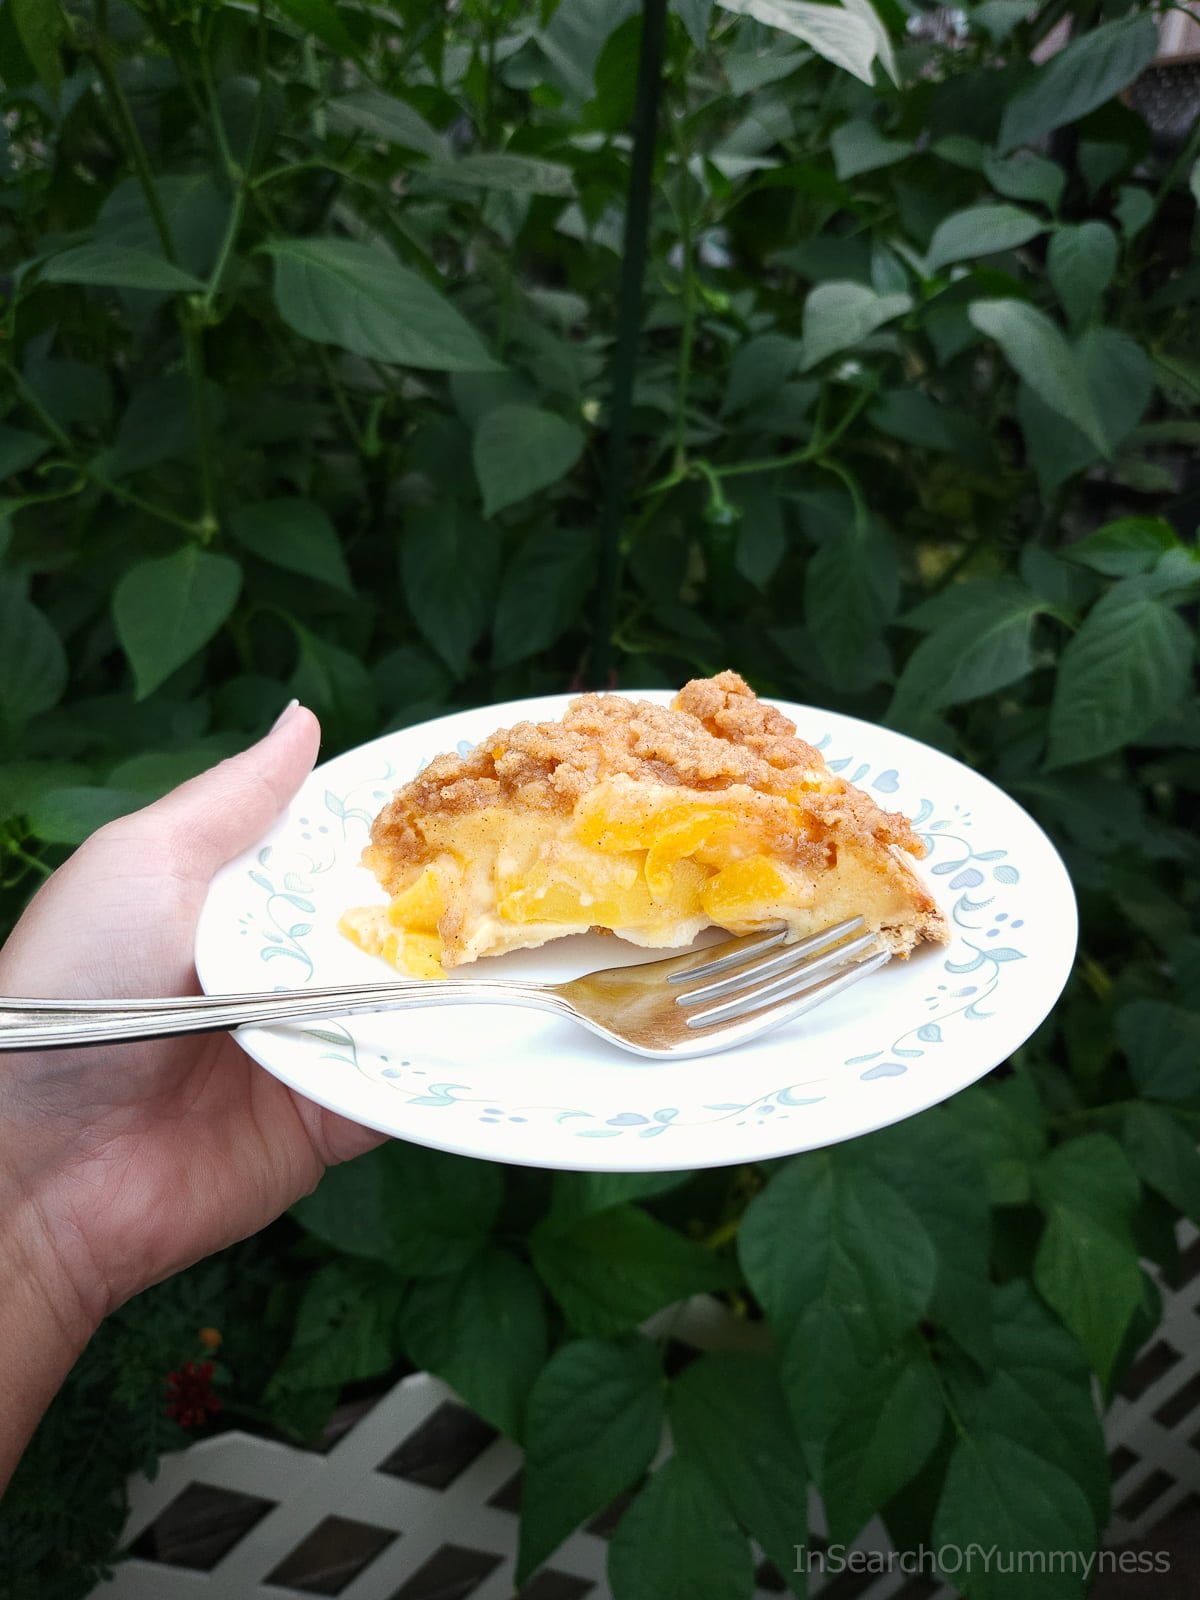
- Add a streusel topping: For a sweet, buttery crunch on top, whisk together ¼ cup packed brown sugar, ¼ cup flour, and ¼ teaspoon cinnamon. Cut in 1 oz of cold, cubed butter with a pastry cutter or your fingers until the mixture forms coarse crumbs. Sprinkle it over the filling for the last 15 to 20 minutes of baking, and bake until golden brown.
- Use fresh peaches: When yellow peaches are in season, swap in an equal amount of ripe, peeled, sliced peaches. To peel fresh peaches easily, score a small "X" into the bottom of each one, then lower them into boiling water for about 30 seconds. Transfer straight to a bowl of ice water to stop the cooking, and the skins should slip right off.
If you love simple fruit desserts, my collection of dessert and treat recipes has plenty more to choose from.
Why I Make This Recipe
This recipe came to me through a brand partnership years ago. It was a peaches-and-cream tart that I was asked to share. The original link is long gone, but the recipe itself never left my kitchen.
Over time, I started adding nutmeg and cinnamon to the custard because the combination reminded me of one of my favourite doughnuts: the old-fashioned sour cream. That warm flavour of the spices pairs so nicely with sweet, juicy peaches.
(My spiced apple cider works the same way, using warm spices to balance a sweet fruit flavour).
I later discovered that the tart was actually very close to a traditional Southern sour cream peach pie and the classic Elmira peach pie from here in Ontario. Both typically include a brown sugar topping, so I've included that as an optional variation in case you'd like to try it.
I personally think this pie is lovely without the streusel, because all that sugar can get in the way of the peach flavour. But it's your pie, so make it the way you like it!
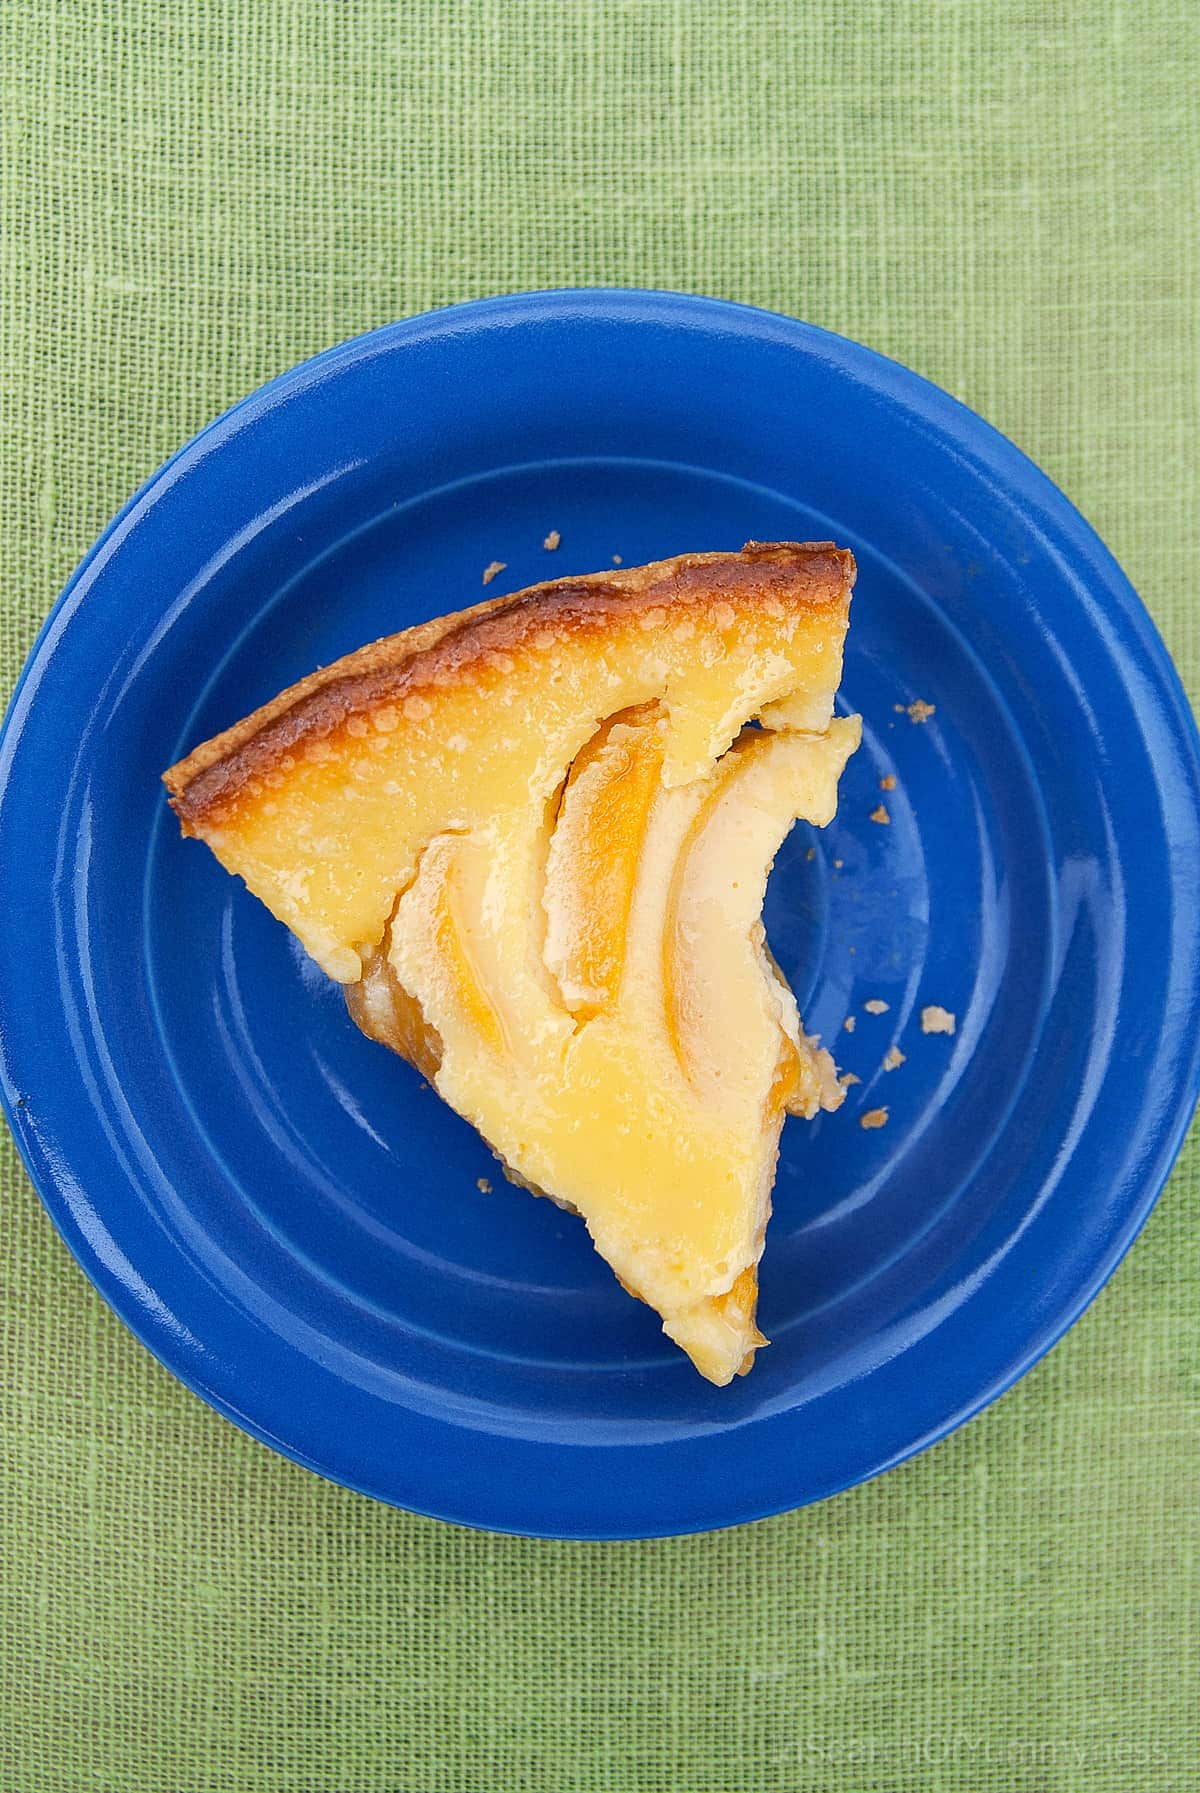
How to Make a Sour Cream Peach Pie
Blind Bake the Pie Shell
Step 1: Preheat the oven according to the package directions. Place the pie shell on a rimmed baking sheet and prick the bottom with a fork. Line with parchment and fill with pie weights or dried beans.
Step 2: Bake for about 10 minutes, until lightly golden. Remove the parchment and weights, and let the shell cool completely.
Prepare the Filling
Step 3: Set the oven to 350°F (180°C). Add the drained, sliced peaches to the cooled pie shell.
Step 4: Whisk together the egg yolks, sour cream, sugar, vanilla, cinnamon, nutmeg, and flour until smooth. Pour the mixture over the peaches. If there's more filling than the shell can hold, pour it up to the rim and discard the rest.
Bake the Pie
Step 5: Bake for 20 to 25 minutes, until the filling has just started to set around the edges.
Step 6 (Optional Streusel): While the pie bakes, make the streusel. Whisk together the brown sugar, flour, and cinnamon in a small bowl. Cut in the cold, cubed butter with a pastry cutter or your fingers until the mixture forms coarse crumbs.
Step 7: Sprinkle the streusel over the filling and continue baking for another 15 to 20 minutes, until the topping is golden brown and the edges of the filling look set. If you are skipping the streusel, just bake the pie for the full 40 to 50 minutes.
Step 8: Let the pie cool completely on the counter, then refrigerate for 3 to 4 hours before slicing. The centre can have a slight jiggle when it comes out of the oven since it will firm up as it cools.
Tips for Success
- Choose your sour cream carefully. Look for cream or cultured cream as the first ingredient. Avoid anything labelled "light" or "fat-free."
- Watch for doneness to avoid overbaking. The edges should look set with a slight jiggle in the centre. It continues to set as it cools.
- Keep an eye on your crust. Cover the edges with foil as soon as they start to colour too quickly.
- Bake on a rimmed sheet pan. Makes cleanup easy if any filling bubbles over.
- Give it time to chill. For clean slices, cool the pie fully on the counter before refrigerating for a few hours, or overnight.
Serve With
This pie is a simple and delicious make-ahead dessert for a summer barbecue, potluck or picnic.
Serve it with vanilla ice cream or whipped cream, and some fresh berries on the side if you'd like.
Common Questions
Yes! Use an equal amount of ripe, peeled yellow peaches. White peaches tend to go mushy in the oven, so skip those.
Yes, this is a great make-ahead dessert. Bake it up to a day in advance and store it covered in the fridge.
Completely normal. The filling can crack slightly as it cools, but it doesn't affect the flavour at all. It just gives the pie a rustic look.
Freezing isn't recommended. The dairy in the filling tends to break down once thawed, which affects the texture. Best enjoyed fresh within two days.
They're small reusable weights (ceramic or metal) that keep an unbaked crust from puffing up or shrinking during blind baking. Dried beans work just as well as a substitute. They won't be edible afterward, but you can keep reusing them for baking.
More Dessert Recipes You'll Love
Recipe Card
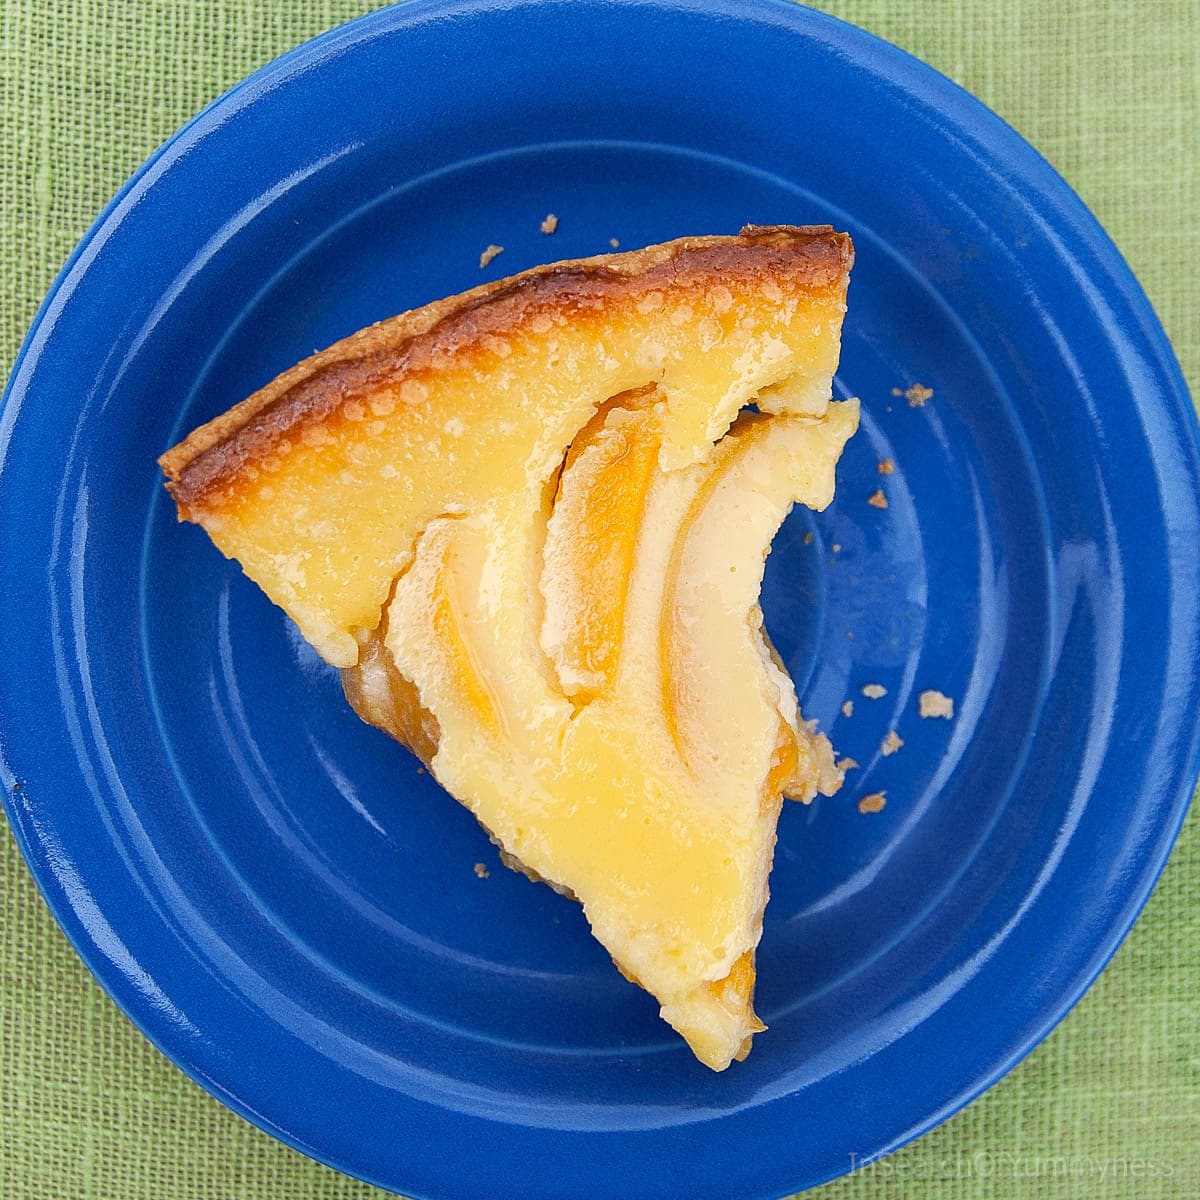
Sour Cream Peach Pie
Ingredients
For the Sour Cream Peach Pie
- 1 deep dish pie shell, 9 inches (23 cm), unbaked
- 2 ⅓ cups canned peaches in light syrup, drained and sliced (or fresh peaches, peeled and sliced)
- 3 egg yolks
- ¾ cup sour cream
- ¾ cup granulated white sugar
- 1 teaspoon vanilla extract
- ¼ teaspoon ground cinnamon
- ¼ teaspoon ground nutmeg
- 3 tablespoons all-purpose flour
For the Streusel Topping (optional)
- ¼ cup brown sugar, packed
- ¼ cup all-purpose flour
- ¼ teaspoon ground cinnamon
- 2 tablespoons cold unsalted butter, cubed
Equipment
- Rimmed Baking Sheet (Half Sheet Pan)
- Parchment Paper, optional, but it makes it easier to remove the pie weights
- Pie Weights, or dried beans
- Mixing Bowls
- Pastry Cutter, optional, for the streusel
Instructions
Blind Bake the Pie Shell
- Preheat oven according to package instructions.
- Keep the pie shell in the foil pan it came in and place it on a rimmed baking sheet. Prick the bottom with a fork.
- Line with parchment paper and fill with pie weights or dried beans. Bake for about 10 minutes, until lightly golden. Remove the parchment and weights and let the shell cool completely.
Make the Sour Cream Peach Pie
- Set the oven to 350°F (180°C). Add the drained, sliced peaches to the bottom of the cooled pie shell.
- Whisk together the egg yolks, sour cream, sugar, vanilla, cinnamon, nutmeg, and flour in a medium bowl until smooth. Pour the custard over the peaches. If there's more filling than the shell can hold, pour it up to the rim and discard the rest.
- If you are adding the streusel: bake for 20 to 25 minutes, until the filling has just started to set around the edges.If you are not adding the streusel, bake the pie for the full 45 to 50 minutes, until the edges are set and the centre has a slight jiggle. Cover the crust edges with foil if they start to brown too quickly.
Make the Streusel (Optional)
- Whisk together the brown sugar, flour, and cinnamon in a small bowl while the pie bakes. Cut in the cold, cubed butter with a pastry cutter or your fingers until the streusel forms coarse crumbs.
- Sprinkle the streusel over the filling after the first 20 to 25 minutes of baking. Continue baking for another 15 to 20 minutes, until the streusel is golden brown and the edges of the filling look set.
Cool and Chill
- Remove the pie from the oven and let it cool completely on the counter. Then refrigerate for 3 to 4 hours before slicing. This gives you clean, neat slices.
How to Serve
- Slice the pie slightly chilled or at room temperature, and top each piece with a dollop of whipped cream or ice cream.
Want More Recipes Like This One?
(You can easily unsubscribe at any time)
Notes
- Peaches: Tested with canned peaches in light syrup. If using fresh, substitute with an equal amount of ripe, peeled yellow peaches. White peaches tend to turn mushy once baked, so avoid those.
- Peeling fresh peaches: Score a small "X" in the bottom of each peach, blanch in boiling water for about 30 seconds, then transfer to an ice water bath. The skins should slip off easily once cooled.
- Sour cream: Use full-fat sour cream with a short ingredient list for the best texture. Do not use fat-free sour cream since it tends to break down in the oven.
- Pie shells: A store-bought 9-inch shell holds a bit less than a homemade crust. You may have a tablespoon or two of extra custard, which can be discarded.
- Doneness: The edges should look set with a slight jiggle in the centre. It will continue to set as the pie cools.
- Cracked top: The filling can crack slightly as it cools. This is normal and doesn't affect the flavour.
- Make-ahead: Bake up to a day in advance and store covered in the fridge.
- Storage: Keep covered in the refrigerator for up to two days. Freezing is not recommended since the filling can curdle once thawed.
Please read the full blog post for all of my tips, variations, and recommendations for this recipe.
Nutrition
Nutritional information is an estimate provided as a courtesy and will vary based on the specific ingredients used. For exact values, use your preferred nutritional calculator with the products you're using.
Private Notes
Have you made this recipe?
Let us know how it turned out in the comments!About Shareba
Shareba Abdul is a recipe developer and food photographer with a Culinary Arts certificate from George Brown College and 15+ years of experience creating and testing recipes for home cooks. She is also a member of the International Association for Culinary Professionals and tests every recipe on this website in her own kitchen. Learn more →


Leave a Comment: